 JSKAPPS
Step-by-step guide
How to block ads on Chrome without creating an account
Tanmoy Sambhav · August 12, 2026
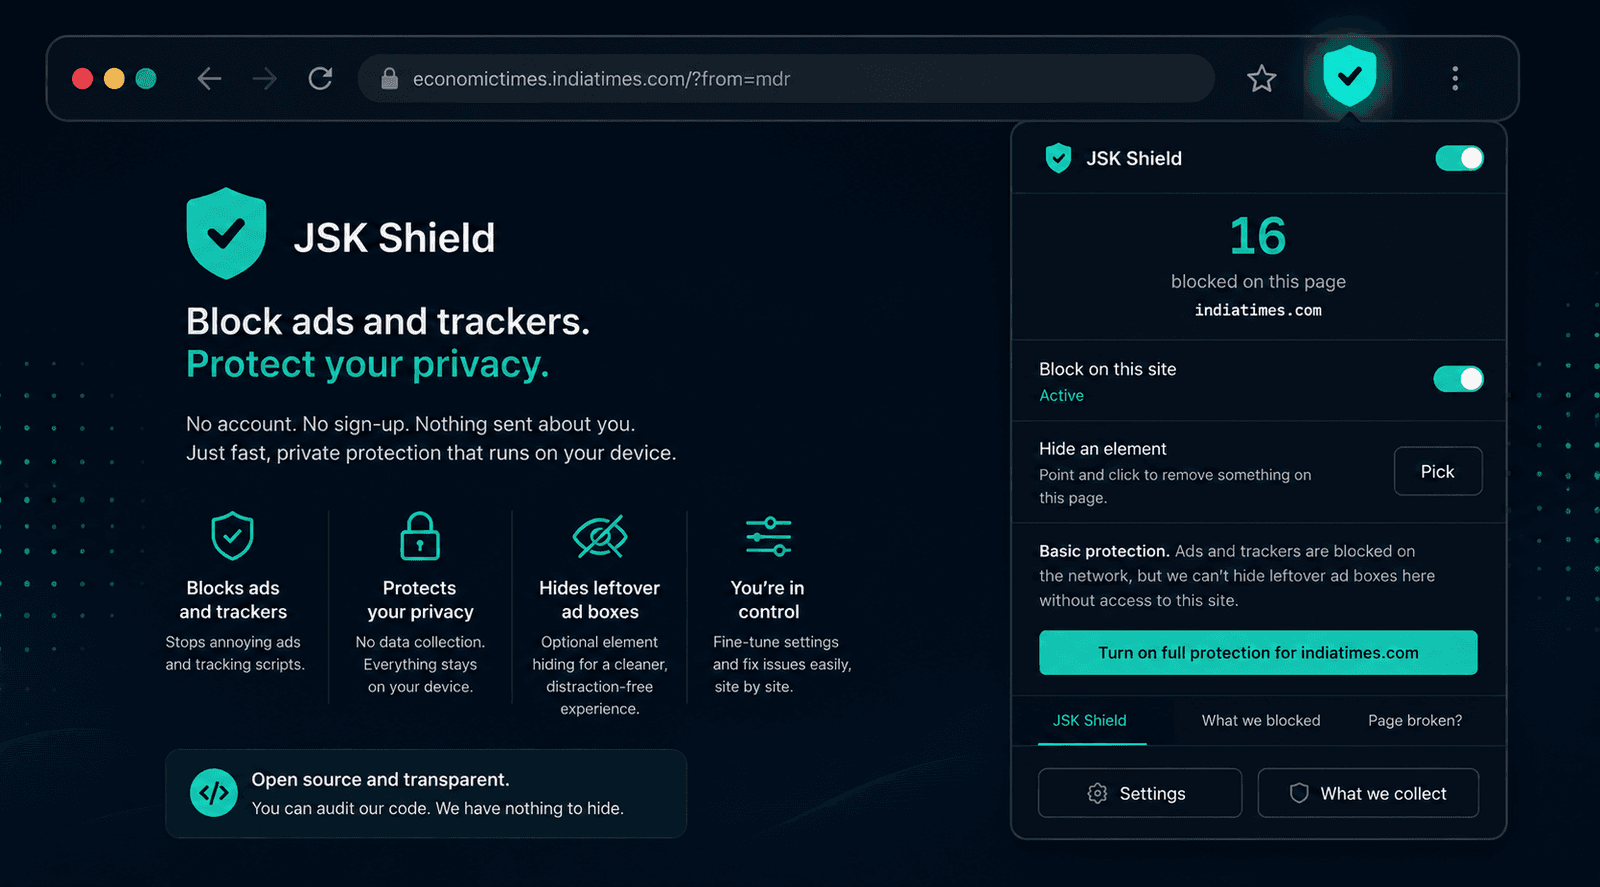
Most ad blockers work the moment you install them. So why do so many of them ask you to make an account, accept an “acceptable ads” programme, or agree to share “anonymous” usage data first?
You don’t need any of that to stop seeing ads. This guide sets up ad and tracker blocking in Chrome in about two minutes, with no account, no sign-up, and nothing sent about you. We’ll use JSK Shield, an open-source blocker, but the important part is the principle: blocking should happen on your device, and you shouldn’t have to trade privacy to get it.
What you’ll need
- Google Chrome, Microsoft Edge, or Firefox.
- Two minutes.
That’s the whole list. No email, no password, no payment.
Step 1 — Install the extension
Add JSK Shield from the Chrome Web Store and, when Chrome asks, allow it to be added. Then click the puzzle-piece Extensions icon in your toolbar and pin JSK Shield so its button is always visible.
The moment it’s installed, it starts blocking ads and trackers. There is no “create your account” screen, because there is no account.
Step 2 — Choose how much access to give it
On first run, JSK Shield asks a simple question, and the answer matters for your privacy:
- Basic protection blocks ads and trackers on the network. It needs no access to any website you visit — it never reads your pages. For most people this removes the overwhelming majority of ads.
- Full protection adds one thing: hiding the empty boxes that a blocked ad sometimes leaves behind. That requires permission to read the page, so it’s opt-in.
If you’re not sure, start with Basic. You can turn on Full protection later — for every site, or just one site at a time.
Why this step exists: a blocker does not need to read your browsing to block ads. Any extension that demands access to every site before it will block anything is taking more than it needs. Being able to say “block, but don’t read my pages” is the setting to look for.
Step 3 — Confirm it’s working
Open any content-heavy news site. Then click the JSK Shield button in your toolbar. You’ll see a number — that’s how many ad and tracker requests it blocked on that page. If the page looks cleaner than you remember, that’s the point.
Step 4 — Handle the occasional broken page
Once in a while, blocking breaks something — a video won’t start, or a comment box vanishes. You don’t have to switch protection off entirely. Click the JSK Shield button and choose Page broken?, then work through the options top to bottom:
- Allow one request — often a single blocked script is the culprit; allow just that one, on just this site.
- Turn off element hiding — keeps ads and trackers blocked, but stops JSK Shield from rearranging the page.
- Pause this site — the last resort, and still only for this one site.
Because the steps go from least to most disruptive, you give up the least protection that actually fixes the page. When you’re done, everything else stays blocked everywhere else.
Do you ever need an account?
For blocking? No — and that won’t change. The core blocker is free and open source, and it will always work with no account.
JSK Shield does let you optionally connect a JSKAPPS account by pasting a key, which unlocks the optional Family plan — content-category blocking, per-child profiles and scheduled blocking. Even then, connecting an account only checks whether your subscription is active — it never sends a URL, a domain, or anything JSK Shield blocked. If that isn’t for you, you can ignore it forever and lose nothing.
The takeaway
Blocking ads on Chrome shouldn’t cost you an account or your browsing history. Install, pick Basic protection, and you’re done — with a blocker that runs entirely on your device and can prove it, because its code is open source.
For the full walkthrough of settings and the request log, see the JSK Shield documentation.
About this tool
JSK Shield